US$9.19
Comentarios de Clientes
- Todos los comentarios (1363)
- Imagen (180)
- Video (8)
Ordenar por:
Reseñas solo de tu país (Spain)
|
Mostrar original
Una parte de la reseña se ha traducido automáticamente.
-
 FilHypeVIP3FR09/11/2016
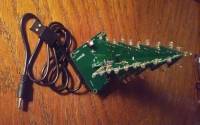
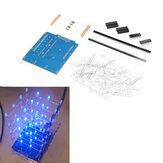
Package is full, but the instruction document is not the good one for the colorful led version. I upload a picture with the correct resistor value !
Comentarios (3)Mostrar original -
ffejr22VIP3US11/11/2017
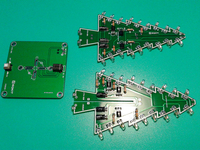
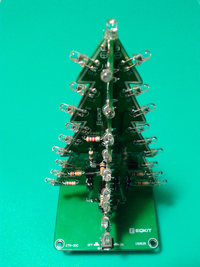
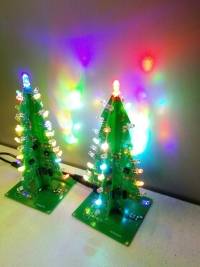
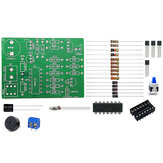
All components included easy to solder, good for beginners bcps are labeled for most components 10k (r1,r3,r5 = brn,blk,org,gold) resistors, transistors, capacitors, switch and power connectors are clearly marked 2.2k (red,red,red,gold) goes in r7 on pcb 'A' all others resistors are the 1k (r2, r4, r6 = brn,blk,red,gold) the r7 2.2k resistor runs the top led my kit included one extra led, and had one bad led tree stands 5.5x2.5x2.5 when completed very low power draw, 0.05a
Comentarios (2)Mostrar original -
BjoernVIP1DK15/11/2015
Fine kit. Everything was in the package (I even got one extra LED) Instructions are fine, but the delivered resistors does not match the instructions. Just follow the instructions, and use correct resistors (see below)) The correct resistors: R1, R3, R5, R7: 10 kOhm (Note: R7 is only on board CTR-30A) R2: 2,2 kOhm R4: 1 KOhm R6: 33 Ohm (39 Ohm works fine) Have fun.
Comentarios (1)Mostrar original -
AerotecGB13/12/2016
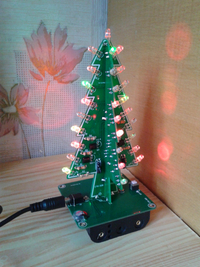
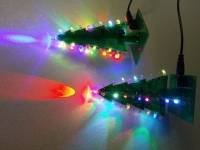
Having no experience of electrical circuits I was unsure what to do when this arrived. The download instructions aren't that clear so here are my tips for assembling the multi colour LED version with white LEDs: View a PDF with assembly details here (Credit to the reviewer pages back who posted this): http://www.haoyuelectronics.com/Attachment/CTR-30C/CTR-30C%20Flashing%20Christmas%20Tree%20Instruction.pdf Link with images is: http://www.haoyuelectronics.com/Attachment/CTR-30C/ CTR-30A is one tree PCB CTR-30B is the other one CTR-30C is the base Resistors: These can be fitted in either direction and are: 6 x 1k: Colour bands Gold/Red/Black/Brown 6 x 10k: Colour Bands Gold/Orange/Black/Brown 1 x 2.2k: Colour Band Gold/Red/Red/Red Locate where these go via the pdf and insert in to the relevant location R1, R2 etc... The single 2.2k goes on R7 on CTR-30A. Transistor (With the 3 legs) Must be fitted the right way but the PCB shows the orientation. All are the same spec so use any of them. Capacitor Must be fitted the right way. Longer leg is (+) Positive. And negative side is printed on the casing. All the same spec so fit where required. LEDs Must be fitted the right way. Longer leg is (+). Positive terminal is the lower location where the letter is such as D1, D2 etc. Solder in place with enough length to bend to point out the way. Solder the tree segments together. When you fit the soldered tree to the base I recommend installing and power up to test before soldering in as you can have a (+) against a (+) as per the instructions but it can still be 90 degrees out. I did this and it was a pain to unsolder as I didn't have a solder sucker. It all went together and worked great once I had realigned the tree to the base and works great off USB power.
ComentariosMostrar original -
23/12/2020
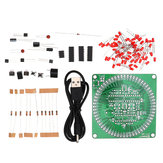
Esto es tan hermoso, y bastante fácil de hacer. Pero no hay ningún manual escrito en papel, y el manual descargado del enlace no es correcto. fueron algunas resistencias no incluidas en el manual) Así que si haces esto, resistencias de soldadura como esta: Parte A R1=10k R2=1k R3=10k R4=1k R5=10k R6=1k R7=2,2k Parte B R1=10 K R2=1k R3=10k R4=1k R5=10k R6=1k
ComentariosMostrar original -
21/12/2017
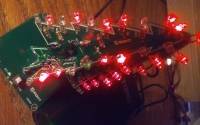
I have now purchased 5 of these kits. Lots of fun, once you figure out which resistors go where - See pictures. Youtube has some good videos on construction
Comentarios (2)Mostrar original -
13/11/2017
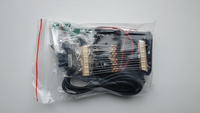
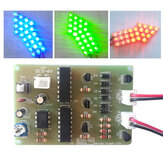
Vor kurzem habe ich den Bausatzsatz erhalten und, nachdem ich eine Bauteiliste entsprechend der gelieferten Bauteile im Internet gefunden habe, zusamen gebaut. Nach dem Zusammenbau und dem harten Test, habe ich ein paar Bilder gemacht. Ausserdem habe die Bauteilliste beigelegt. Viel Spass beim Löten.
Comentarios (2)Mostrar original -
S4SpaVIP1RU01/01/2021
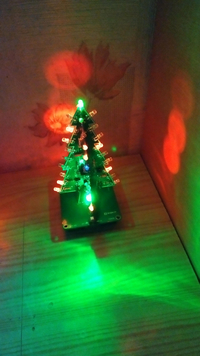
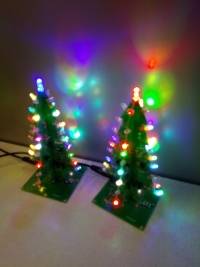
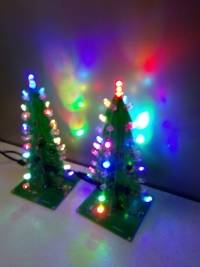
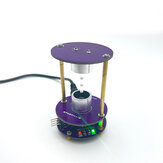
Bonito kit de entrenamiento de raciones. La calidad de los circuitos impresos es alta: las pistas son lisas sin grietas, los agujeros están metalizados. Con bastante facilidad, Internet tiene guías de texto y video. El diseño montado comenzó a funcionar de inmediato tanto por cable USB como a partir de tres baterías AA. Sucede que tengo un conjunto en el que cada LED enciende el поочерёдно en tres colores: rojo, verde y azul. Hay cuatro aberturas en el soporte para ser fijadas a la base, así que en el futuro, tal vez voy a hacer una caja transparente protectora para este árbol. También hay que añadir que este diseño tiene un consumo de corriente muy bajo, de unos 16 mA. Gran regalo de Año Nuevo. Lo recomiendo.
ComentariosMostrar original -
02/01/2018
I have purchase 16 units in total as Xmas gift and everybody LOVE it.
Comentarios (2)Mostrar original -
sptginVIP2UA06/02/2019
Funny Christmas toy.
ComentariosMostrar original


Show:
Puedes estar interesado
-
 US$7.59
 -
US$9.76
-
US$14.26
-
US$13.99
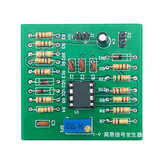
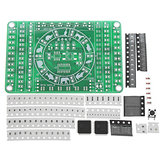
Juego de práctica electrónica Kit de prueba de soldadura SMT de soldadura DC 9V
-
US$18.39
-
US$45.49
-
US$8.73
-
US$66.95
-
US$6.99
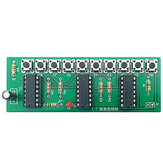
Kit de bricolaje de luces LED rastreadoras de DC5V-9V con piezas para producción electrónica
-
US$11.49
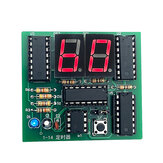
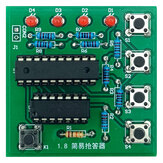
Kits de bricolaje de 5V - Tablero temporizador de dos bits - Kit electrónico de contador de 2 bits
-
US$6.99
Kit de cubo LED azul 4X4X4 3D Kit LED DIY para Arduino Smart Electronics Led Cube Kit
-
US$7.24
-
US$8.04
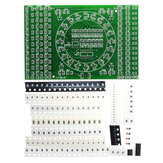
Kit de entrenamiento de habilidades para soldar componentes SMD con LED giratorio DIY de 3 piezas
-
US$6.99
EQKIT® Temporizador Electrónico de 60 Segundos Kit de Piezas para Practicar Soldadura
-
US$9.23
-
US$7.46
-
US$15.99
-
US$7.99
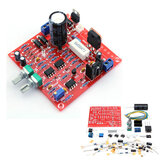
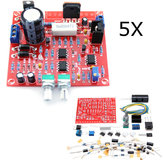
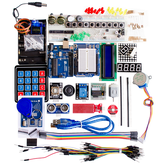
Módulo de Fuente de Alimentación Regulada Ajustable de CC de 0-30V 2mA - 3A Kit de Bricolaje
-
US$13.79
-
US$3.49
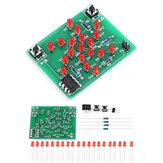
Kit de entrenamiento de habilidades de soldadura de componentes LED SMD giratorios DIY
-
US$14.99
-
US$6.99
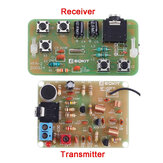
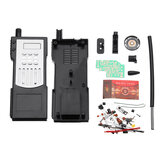
Kit de producción de walkie-talkie electrónico DIY - Kit de inicio para experimentos de soldadura
-
US$11.99
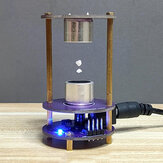
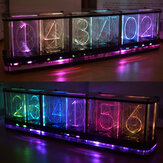
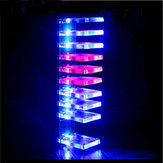
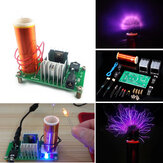
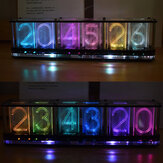
Kit de espectro de voz musical LED de cubo de luz de columna electrónica de cristal DIY Dream
-
US$3.99
-
US$18.51
-
US$12.99
-
US$20.69
-
US$12.99
Kit de producción de balanza electrónica de microcomputadora de chip único DIY 51
-
US$22.99
-
US$11.49
-
US$8.99
-
US$9.19
-
US$6.99
-
US$12.69
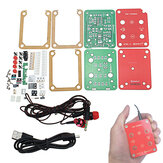
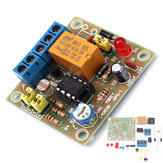
Kit de interruptor de luz DIY de 3 piezas Placa de módulo de control de luz con fotosensible DC 5-6V
-
US$6.89
-
US$10.34
Kit electrónico de 5V Bloqueo de contraseña simple Kit de placa base
-
US$3.99
-
US$41.99
-
US$28.86
5 piezas Original Hiland 0-30V 2mA - 3A Kit de fuente de alimentación regulada ajustable DC DIY
-
US$7.99
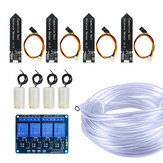
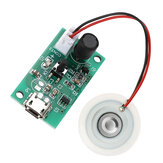
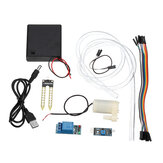
Kit de módulo de riego automático DIY Detección de humedad del suelo Bomba de riego automático
-
US$11.64
Kit de bricolaje para pistola electromagnética Equipo de experimento electromagnético
-
US$12.99
-
US$20.84
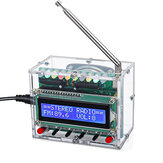
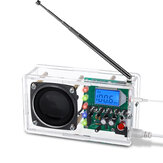
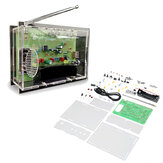
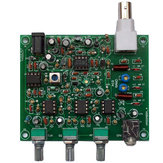
Kit receptor de banda de aviación DIY de alta sensibilidad, versión clásica
-
US$7.99
-
US$32.99
Kit desmontable original del osciloscopio digital DIY DSO-SHELL DSO150 15001K de JYETech con carcasa
-
US$41.99
-
US$15.00
-
US$27.71
-
US$6.89
-
US$7.58
Kit de electrónica de bricolaje para alarma antirrobo de motocicleta


recommendation for you
-
US$20.99
-
US$29.99
-
US$23.99
-
US$9.99
-
US$5.74
-
US$12.99
-
US$18.09
-
US$6.99
-
US$11.99
-
US$13.99
-
US$12.99
-
US$4.99
-
US$8.99
-
US$6.99
-
US$7.99
-
US$12.64
-
US$35.99
-
US$7.58