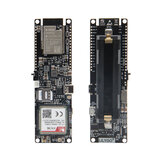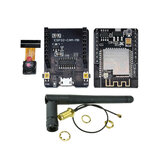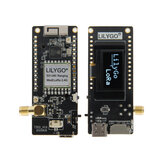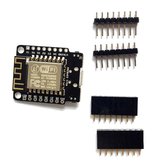
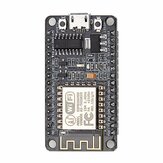
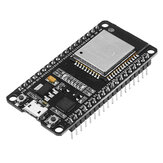
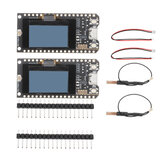
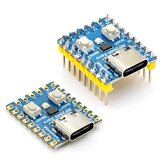
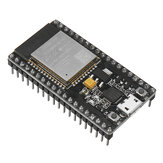
Placa de desarrollo Geekcreit Mini NodeMCU ESP8266 WIFI basada en ESP-12F
US$7.99
Una parte de la reseña se ha traducido automáticamente.

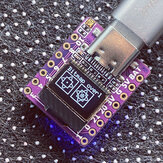
I only had one day to play with this, but a few quick notes-- the mini board is tiny! And instead of using the lua stuff or even the arduinio IDE, I installed the Atom text editor onto my Ubuntu linux machine, then the platformio IDE on top of that. You can find a udev rules file in the link below that will ensure your user has access to mini nodeMCU as a USB device. (Instructions as to where to put it are in the link. You only need to put this file in place once.) Next, in the platformio IDE, I created a new project and selected the "d1_mini" board type (at first I accidentally chose the "nodemcuv2" type, but the gpio numbers were wrong. Trust me, "d1_mini" is the one you want). At that point, I could load the led blink "sketch", compile, and upload it. Got the flashing blue LED! Next, I was quickly able to get the WifiManage demo/library to upload and runwperfectly, which was cool cuz my computer found the esp8266 as an AP, enter my router's password, and it connected! I think had it run as a generic web server. (again, link below) Lots of fun stuff to try still, but this seems to work well so far and has been fun for a newcomer to arduino. And you don't really need anything except for a microUSB cable for your computer. Amazing. Links: http://platformio.org/ https://github.com/platformio/platformio/blob/develop/scripts/99-platformio-udev.rules https://github.com/tzapu/WiFiManager
These indeed use the lastest ESP-12F, with improved/more stable antenna and 4MB of Flash. They are not too large and allow for one free line on each side of a solderless breadboard. almost all ESP-12F pins are available (the bottom pins of the ESP-12F are not available) The reset and flash buttons are very useful. Though the 3.3v regulator consumes a bit more than expected. Great for prototyping. Some soldering is needed to attach the headers.


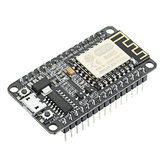
Geekcreit® NodeMcu Lua ESP8266 ESP-12F Placa de desarrollo WIFI

Geekcreit® NodeMcu Lua ESP8266 ESP-12F Placa de desarrollo WIFI
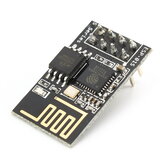
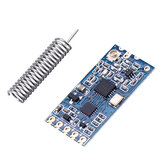
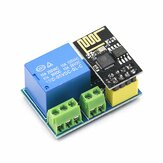
Módulo inalámbrico de transceptor WIFI de puerto serie remoto ESP8266 ESP-01S

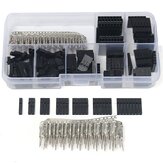
Geekcreit 310pcs 2,54mm Cable Dupont Macho Hembra Hembra con Conector de Encabezado y Kit de Carcasa

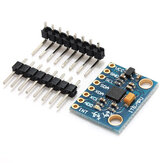
Módulo de giroscopio de 6DOF MPU-6050 Geekcreit® con acelerómetro de 3 ejes
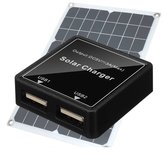
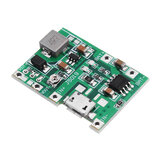
Regulador de carga de energía para paneles solares de 5V 3A con USB dual, color negro


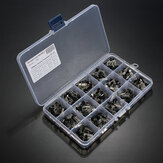
Kit de caja surtida de transistores TO-92 Geekcreit® de 600 piezas, 15 valores x 40 piezas con caja
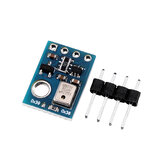
Módulo de medición de temperatura y humedad digital de alta precisión AHT10 con comunicación I2C
Módulo integrado de carga y descarga de batería de litio 18650 Geekcreit® 3.7V 9V 5V 2A ajustable

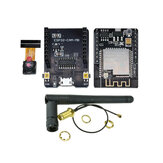
Módulo inalámbrico Geekcreit® NRF24L01+PA+LNA de larga distancia de 1100 metros con módulo de antena